Chatbot Logic
Now, it's time to add some code to hook up all these things together! You'll need a Node.js app to make a bridge between Facebook app and Wit.ai app.
Node App#
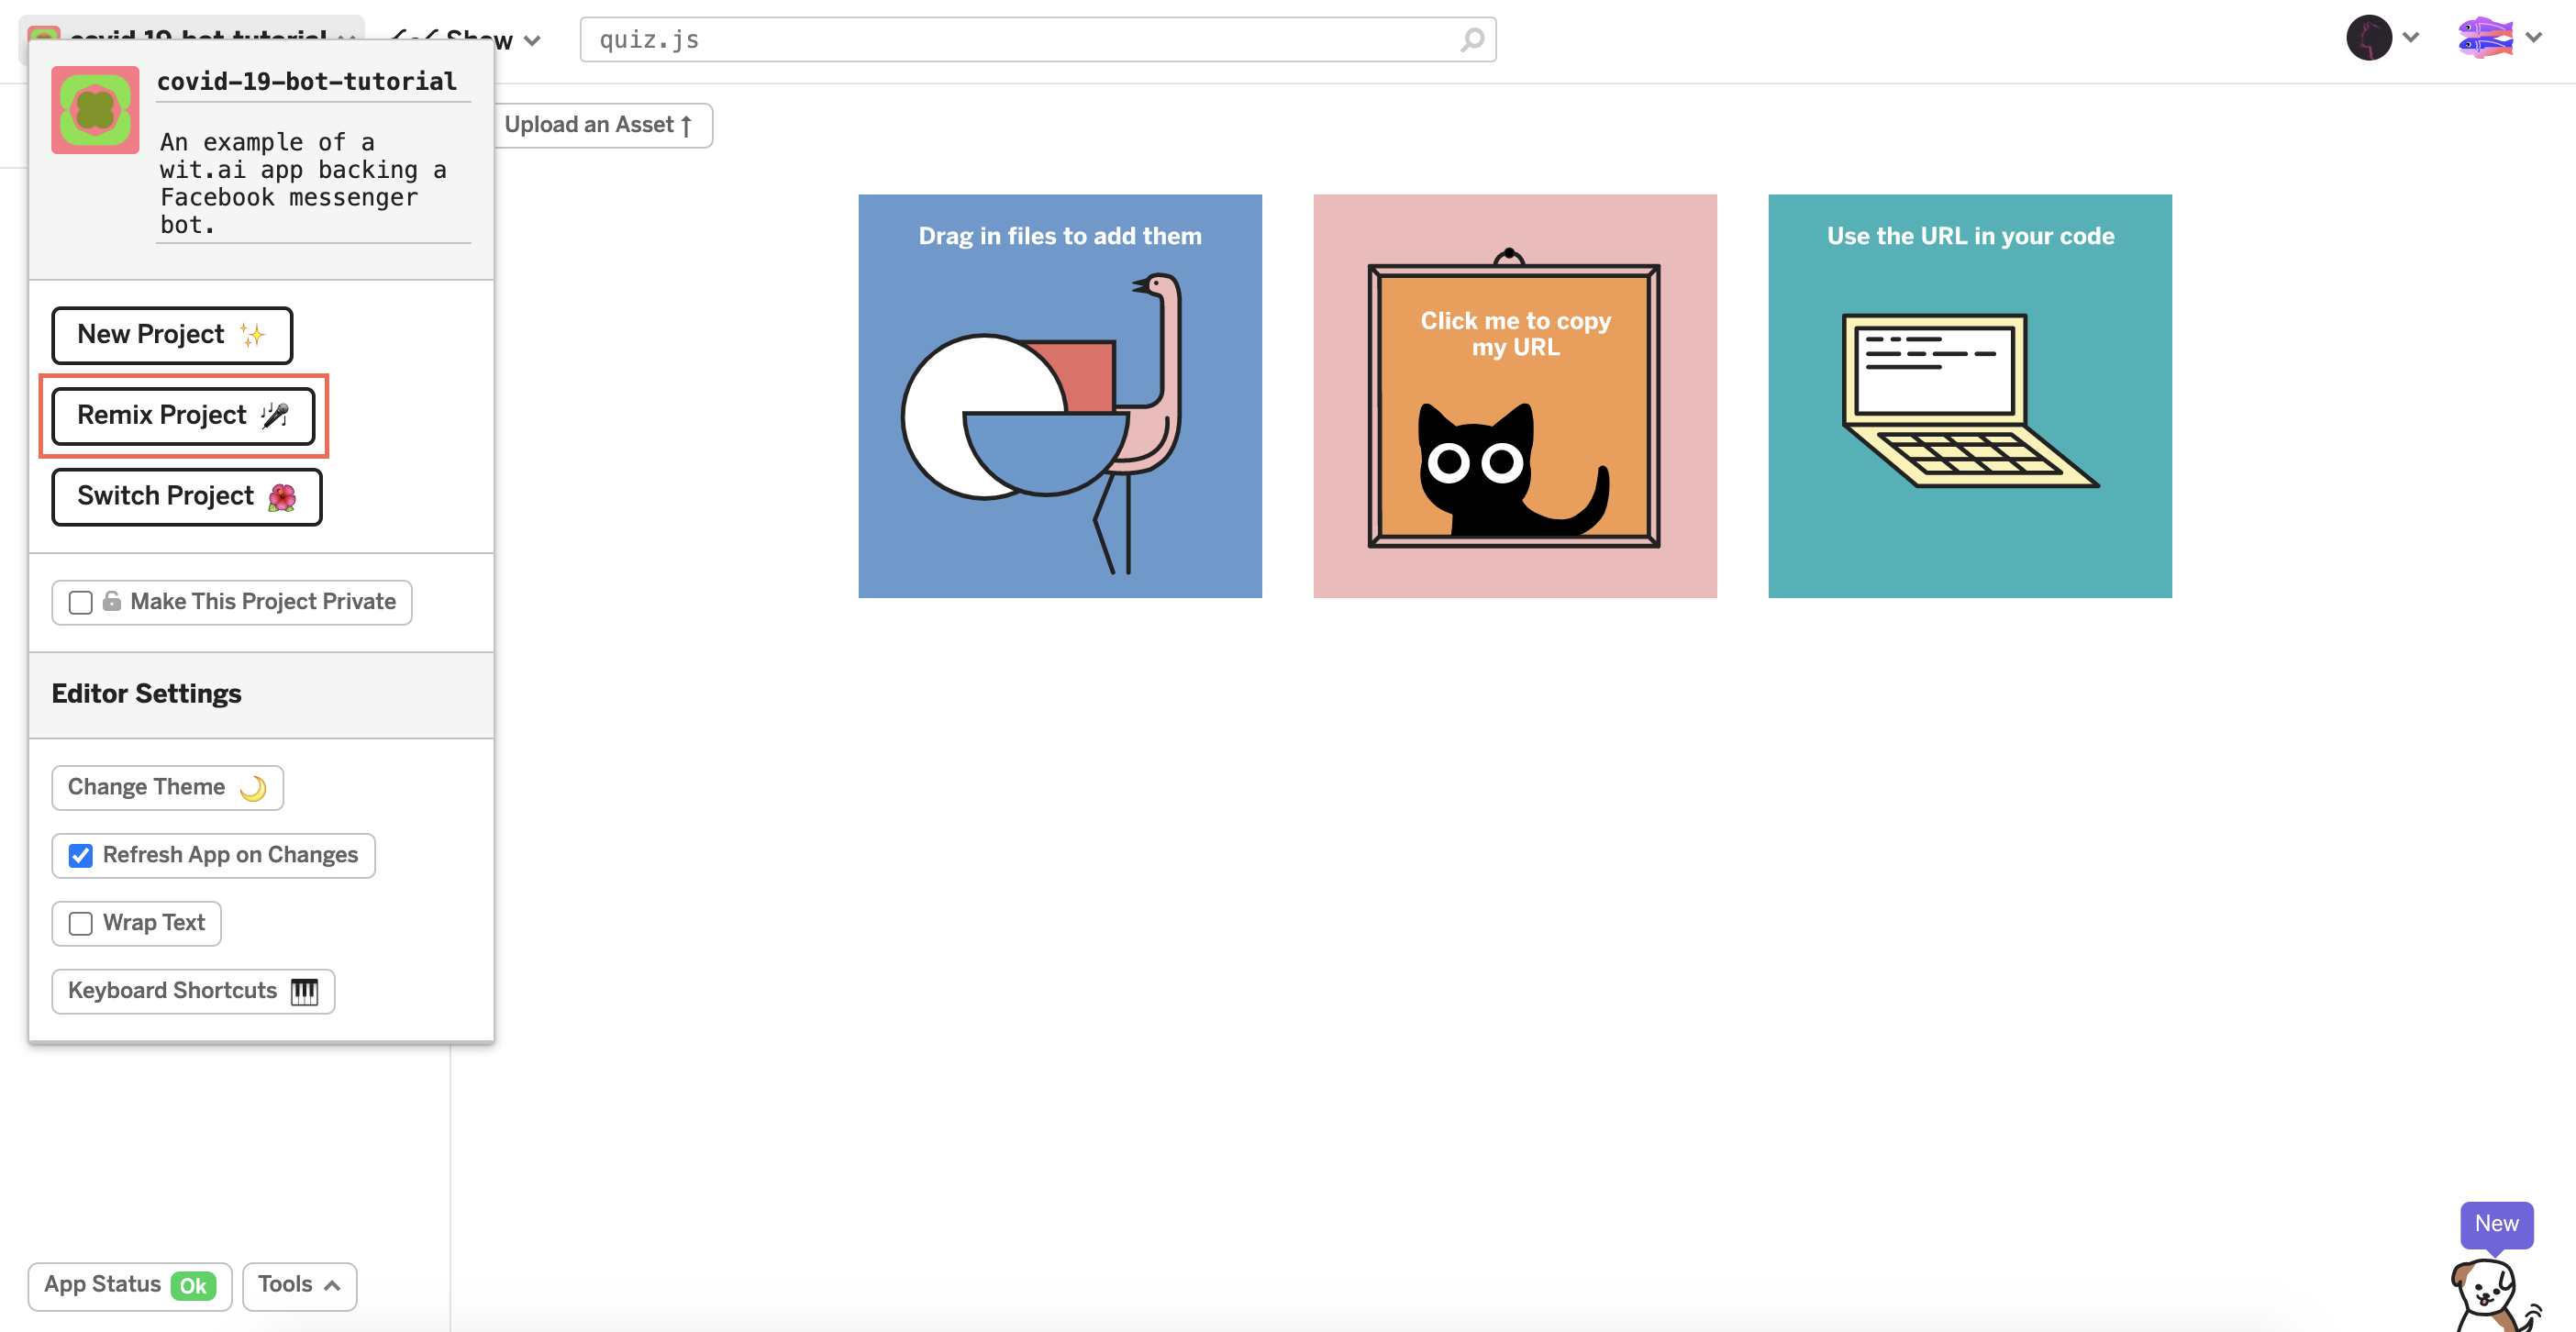
No need to worry, there is a basic project, hosted on the Glitch, and you can simply copy the whole project with "Remix Project" button and adjust it as you want. It will create a duplicate project with same code but acting as a unique application with its own configuration.
It is a relatively simple Node.js app, acting as a Web server to respond to requests, coming from the Facebook app. It handles two types of requests:
GET /webhook— to setup and verify a webhook URLPOST /webhook— to receive, process and respond to incoming messages
It also uses Facebook Messenger Platform's Send API to send messages back to the user.
The app consists of four main modules:
app.js - App entry point#
This is where Express.js server and Wit.ai client sets up and main two webhook request handlers are implemented.
The most notable part is the message handler code:
quiz.js#
This is the module, you are free to customize. It has the Quiz Q&A data:
Each step of it has a question and set of quickReplies to suggest to the User. Field columnName represents the name of the column in Airtable, used to store the answer, while User goes through the Quiz. Values, stored in the table are integers in range of 1-3.
db.js and messenger.js#
These modules are used to help establish communication with Facebook Messenger Platform and Airtable API and to provide handy functions to perform basic operations — send messages, retrieve or update a record in Airtable database.
Environment Variables#
Variables which gets set in the environment of the app, before it gets started. Then, during the app execution, these values can be used in code. This is a common practice to keep secrets separate from the codebase.
In this project you can set them by modifying the .env file. Glitch has a neat UI to manage it:
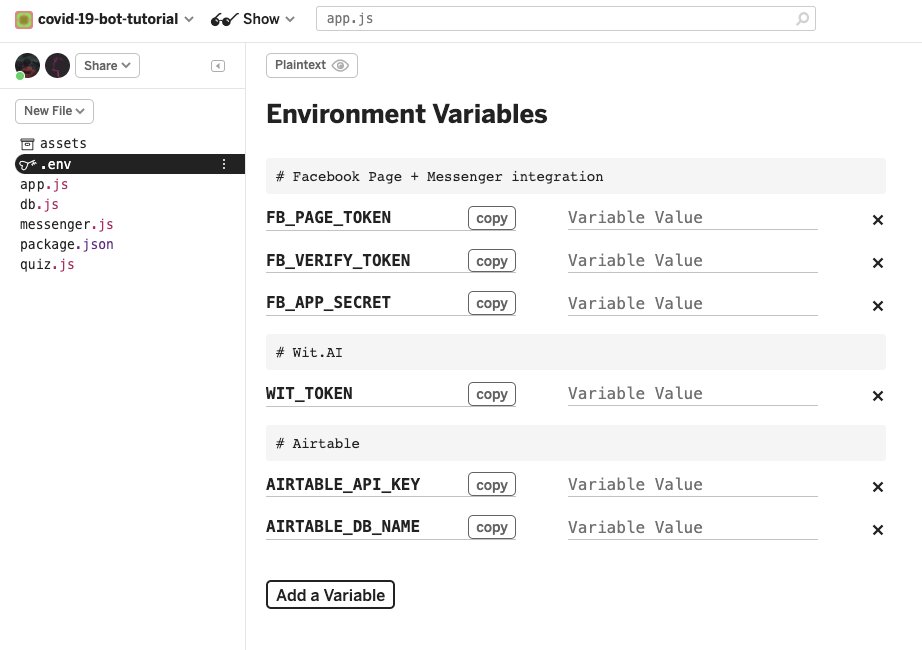
Now, you are going to fill in the environment variables which are required to connect Facebook app and Wit.ai app#
First, let's get the Facebook app secret token. Let's go to your Facebook app → Settings → Basic. Copy and paste the App Secret in the FB_APP_SECRET of the Glitch .env. It may require your facebook password to get App Secret for the first time.

Then, let's get the WIT_TOKEN. Go to your Wit.ai app, copy Server Access token and paste it in the WIT_TOKEN of the Glitch .env
You also need to provide other environment variables such as FB_PAGE_TOKEN, FB_VERIFY_TOKEN, AIRTABLE_API_KEY, AIRTABLE_DB_NAME. We can just type random values for these variables temporarily.
Go to your Facebook App → Messenger → Settings and generate click "Add callback URL". You can find callback URL in Glitch → Share → Live app. Paste it and don't forget to add "/webhook" to the end of the url.
The last step is FB_PAGE_TOKEN. Go to your Facebook app → Messenger → Settings and generate it. Remove your previous FB_PAGE_TOKEN value and paste the new one.
Airtable#
Every time your Node app receives the message — you should assume it might be unaware of all previous actions. To keep it in context of ongoing conversation you have to keep the state of it in some persistence layer.
Some apps doesn't require having one, but conversational apps usually do. In this case, you will keep quiz progress across the dialog events and remove it, once the quiz is completed — you don't need to keep any extra data after it.
You will use Airtable as a simple service to store session data for ongoing quizzes and access it with its handy JavaScript library.
Start by signing up for an Airtable account and creating a Workspace.
Next, create a Base. Choose "Start from scratch" and give it a name:
Your database will have a table, created for you by default:
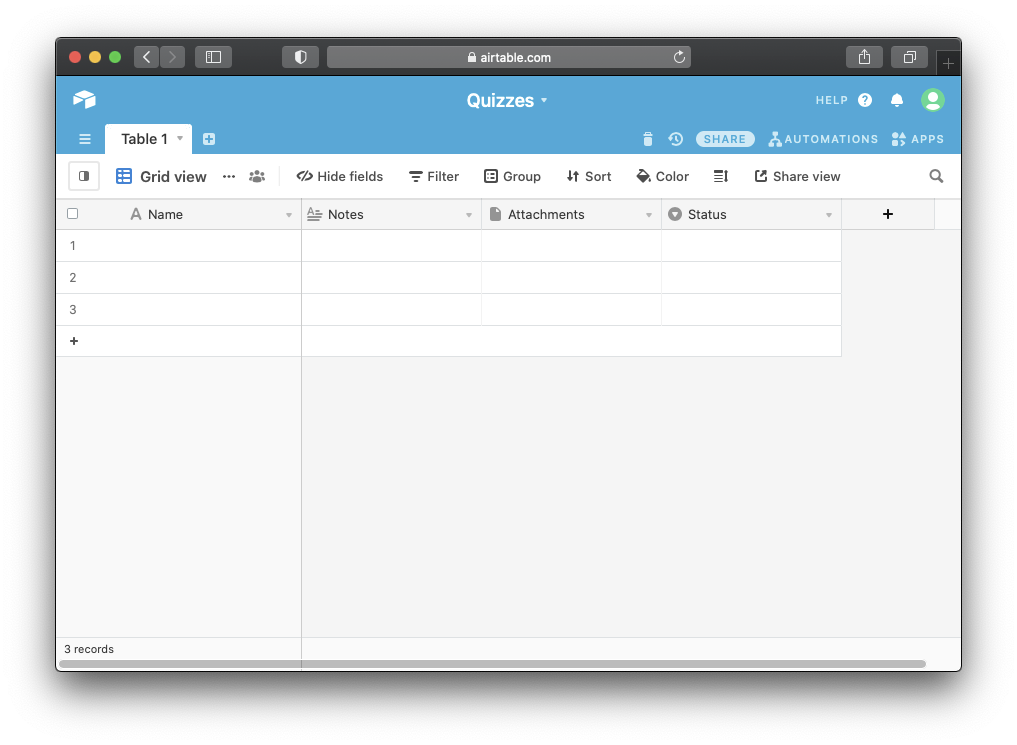
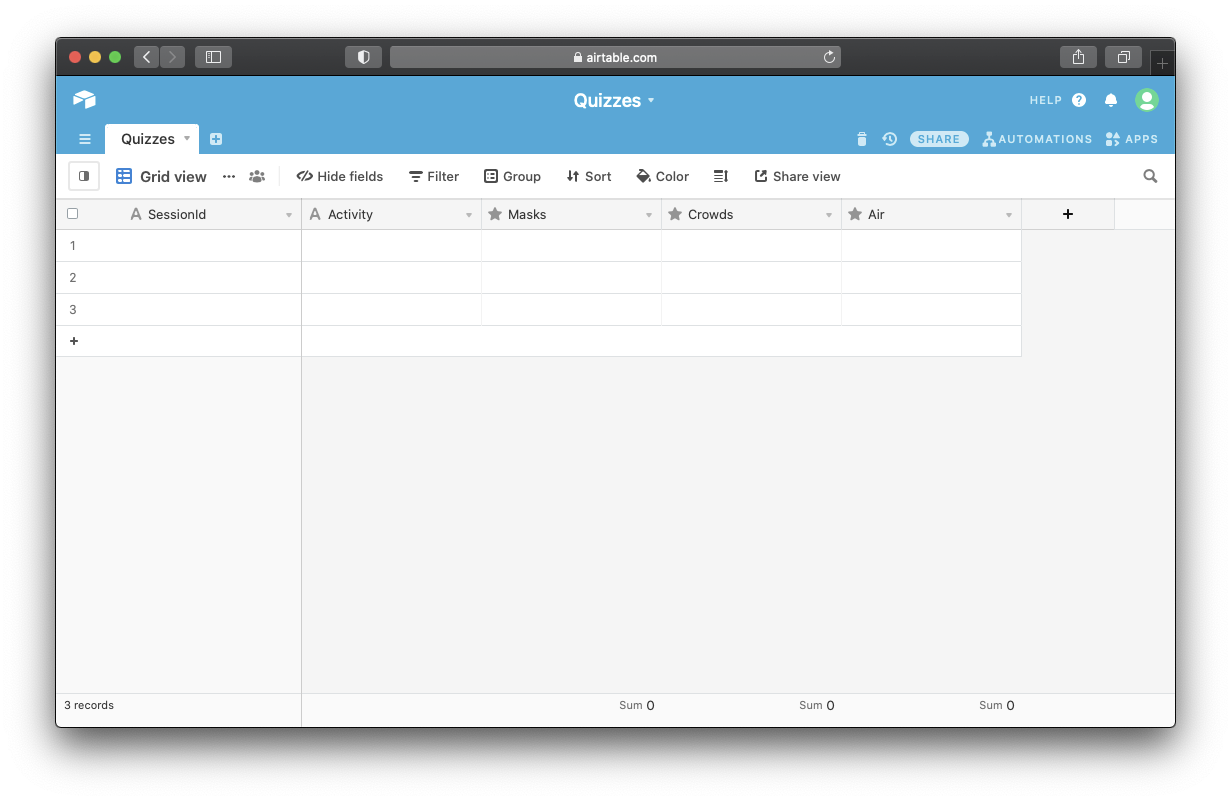
You can keep it, but change it for your needs. Change the name of the table to "Quizzes" and configure four columns with the following configuration:
- SessionId — Single line text
- Activity — Single line text
- Masks — Rating, Max 3 stars
- Crowds — Rating, Max 3 stars
- Air — Rating, Max 3 stars
This is what end result should look like:
Now, to connect this table to your Glitch app, you'll need to get its Base id and API Key. The easiest way to get them is to take a peek to its dynamically generated API documentation.
Navigate to: https://airtable.com/api and select a Base to view its API documentation.
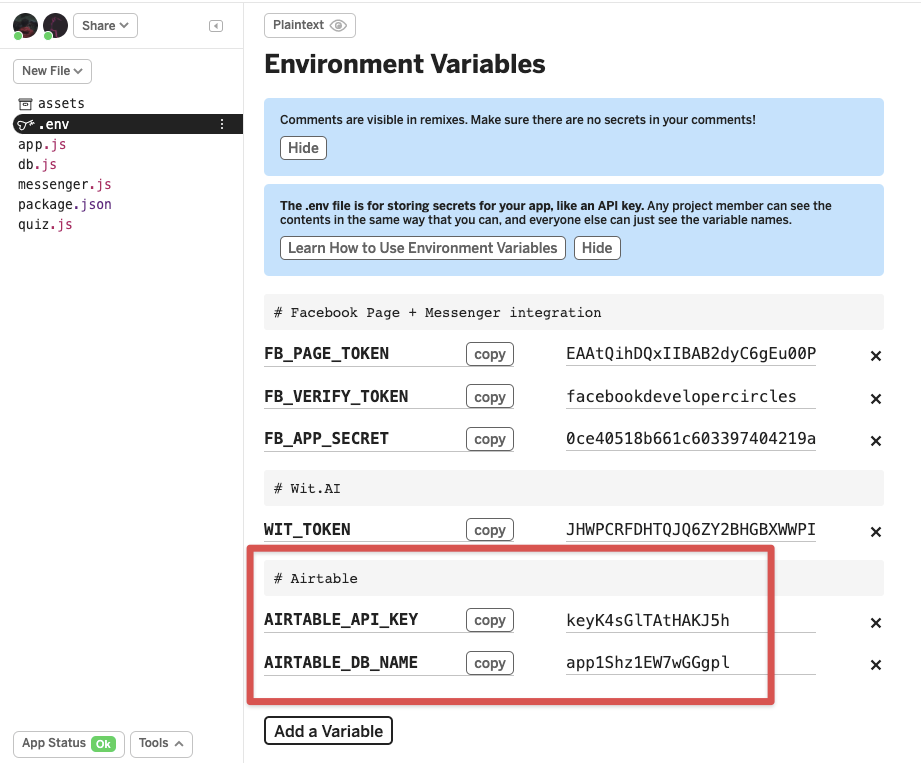
Scroll down to "Authentication" section, switch to "JavaScript" and turn on "show API key" checkbox:
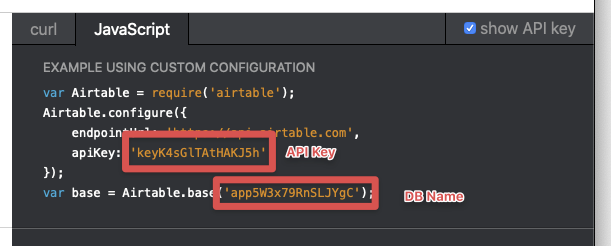
Let's copy these values and paste them to your .env file in the Glitch app: